I first started mobile development in native iOS with Swift 3.0 and XCode 8.0. Swift was a very new language with fancy syntactic sugars such as trailing closures, type inference etc. With the exception of string manipulation, I generally enjoyed coding in Swift.
The same cannot be said for XCode. It’s arguably the worst IDE I ever had to use. Major issues include random hangs/crashes (especially with the Storyboard), slow compilation time, and bad user interface (for one, I frequently misclicked on breakpoint), broken/strange auto-format rules. It didn’t even have code renaming/refactoring back then!
As for Android, needless to say, most people avoid Java if they have a choice.
Fortunately, React Native soon became mature enough to replace native app development.
A React Native app is a real mobile app
With React Native, you don’t build a “mobile web app”, an “HTML5 app”, or a “hybrid app”. You build a real mobile app that’s indistinguishable from an app built using Objective-C or Java. React Native uses the same fundamental UI building blocks as regular iOS and Android apps. You just put those building blocks together using JavaScript and React.
Benefits of React Native:
- Very similar to React.js. Learn once, write everywhere!
- Most of your code would run on both Android and iOS perfectly. Write once, run everywhere!
- More reusability between mobile and web version. If you have written some front-end logic in Javascript, you can easily share it between your mobile and web versions. Even UI components could be made to be reused through react-native-web, though native component designs might not be suitable for your web version.
- Much better development environment! With live/hot reloading, you can see your changes in <1 sec instead of waiting several seconds for XCode/Android Studio to compile!
- Retain the flexibility to incorporate native modules when necessary.
To create a React Native app, we have 2 choices:
react-native init: a standard and bare minimal React Native appcreate-react-native-app: the native parallel to create-react-app. Comes with Expo SDK.
More on Expo SDK
Expo apps are React Native apps which contain the Expo SDK. The SDK is a native-and-JS library which provides access to the device’s system functionality (things like the camera, contacts, local storage, and other hardware). That means you don’t need to use Xcode or Android Studio, or write any native code, and it also makes your pure-JS project very portable because it can run in any native environment containing the Expo SDK.
Expo also provides UI components to handle a variety of use-cases that almost all apps will cover but are not baked into React Native core, e.g. icons, blur views, and more.
Finally, the Expo SDK provides access to services which typically are a pain to manage but are required by almost every app. Most popular among these: Expo can manage your Assets for you, it can take care of Push Notifications for you, and it can build native binaries which are ready to deploy to the app store.
While the pitch makes it sound like the holy grail to React Native development, it does come with some drawbacks (un-ejected):
- No access to native modules
- No asset bundling (assets have to be downloaded online from Expo Cloud when user first open the app). Asset bundling feature is planned in the next release though (v24.0)
- Larger app size (from my own experience, it increases the size by ~30 MB for iOS and ~8MB for Android)
Expo comes with “Over the Air” updating, meaning if you did not alter any native codes (not possible for an unejected Expo app anyway), you can deliver changes in your Javascript code instantly to your user the next time they restart the app, instead of waiting ~2 days for App store review of your updated app!
However, if you choose not to use Expo for the above or other reasons, then Microsoft Code Push is the tool of choice in distributing your app over the air.
Apart from the instructions in the documentations, I had to add google() to gradle’s buildscript/repositories for Android, and set Code Signing Style to Manual in Build Settings for iOS, for App Center to successfully create a signed build.
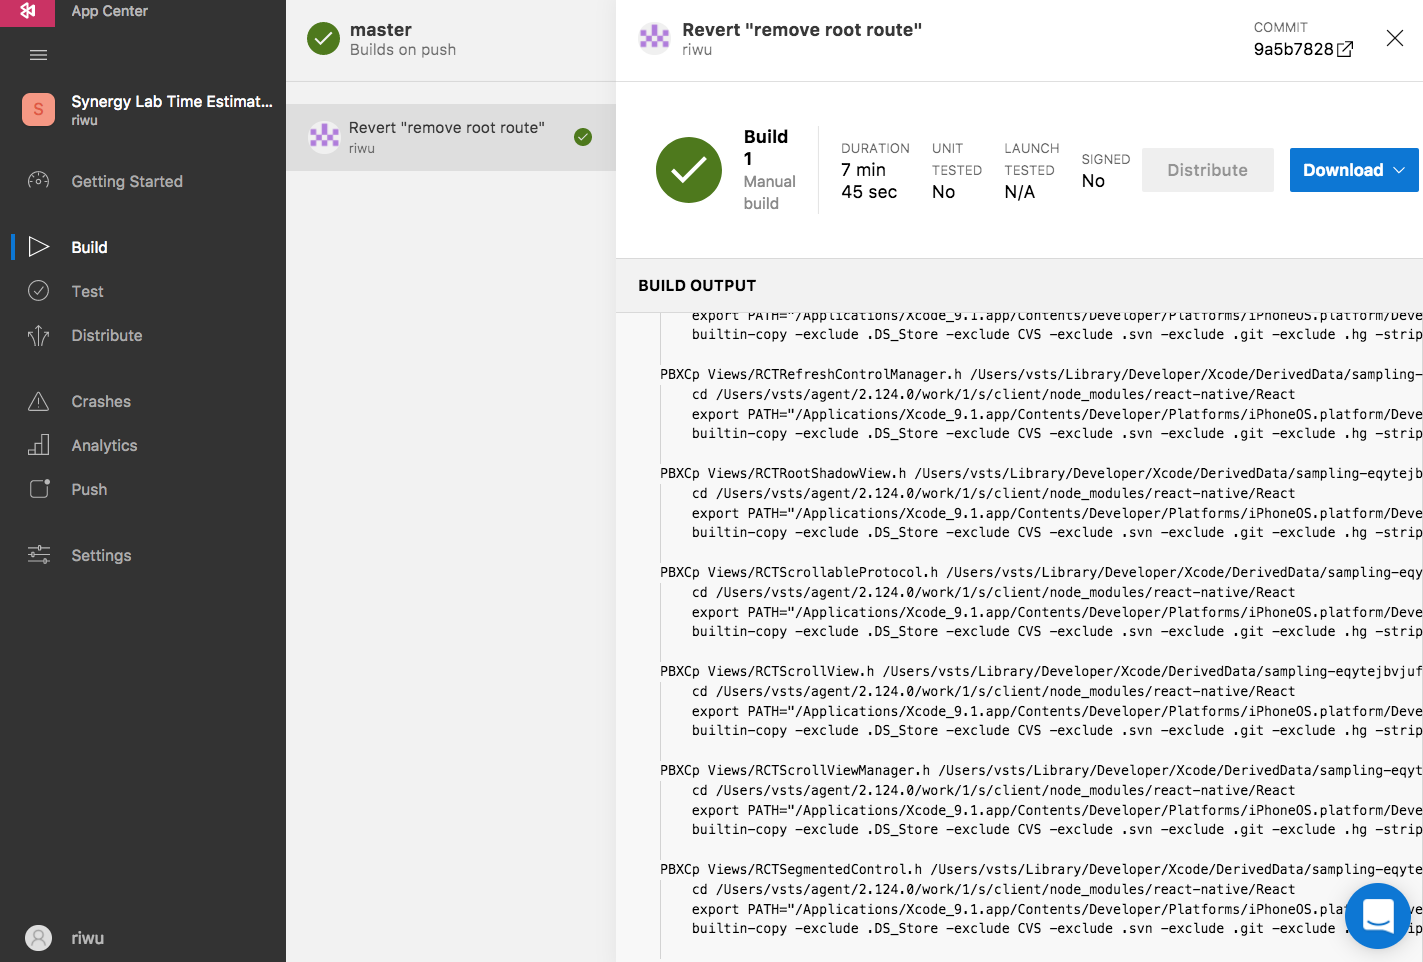
As seen above, it comes with complete CI/CD pipeline, auto building, testing and distributing your app whenever a new commit is made. Additional functionalities include crash reporting, analytics and push notifications! Yet another great addition to my automation tool belt!
September 26, 2022 at 6:35 am
This blog is a source of amazing knowledge and wonderful information, where you can extract topic-related content easily, and you can find it according to the media of interest.