The 4th chapter introduced us to chocolate and ice cream! It’s pretty apt to learn about ice cream now especially because Haagen Dazs ice cream has been on promotion for a while now so there’s always at least one pint of it in my freezer. If I remember correctly, at one point in time there were 6 pints… I mean, 3 for $25, how not to buy right? So yes, it was cool that I got to learn more about ice cream in school during this period of time! As for chocolate, I’m not the biggest fan of it but I do love dark chocolate, especially the ones that melt in your mouth.

Chocolate truffles from awfully chocolate. Heaven in my mouth.
Workshop experience!
1. Making chocolate mousse
Expectation:

Picture of chocolate mousse adapted from https://www.spicebangla.com/chocolate-mousse-recipe/
Chocolate mousse is an airy chocolate dessert typically made by mixing melted chocolate with whisked eggs and whipping cream. In this recipe (https://www.onceuponachef.com/recipes/chocolate-mousse.html), chocolate is first melted together with butter and left to cool. Then, egg yolks are incorporated into this mixture. Egg whites and sugar are then whisked separately until stiff peaks are formed. This is then folded together with the chocolate mixture. Heavy cream is then beaten together with vanilla extract and sugar until medium peaks are formed. Finally, the chocolate mixture is combined with the heavy cream mixture and there we have it!
Reality:
I was quite surprised by the number of ingredients that we used (or lack thereof). I expected that we would have to use at least some form of whipping cream or heavy cream together with chocolate but no we only used chocolate! My group (fortunately or unfortunately) got this brand of chocolate that has no sugar added.
The first thing we did was break up the chocolate into small pieces so as to facilitate melting!
Then we added hot water into this bowl of chocolate and mixed it to melt all the chocolate. After that, we whisked the melted chocolate while cooling the mixture down by placing this bowl into a bigger bowl of ice.
Here’s a video of us whisking the chocolate: IMG_2251
After whisking diligently, many groups eventually achieved the mousse texture except ours and another group that used this same brand of chocolate! We eventually concluded that it might be because of the lack of sugar content in the chocolate we used. I’m still not quite sure how this can be scientifically explained though. It definitely has to do with the inability of this chocolate to stabilise pockets of air to form the mousse texture. Maybe we should have compared the ingredients in detail instead of just focusing on the amount of sugar. I’m guessing that it might have to do with the amount of cream or egg because these are the ingredients that can actually foam up on whisking due to the formation of a protein network, but that’s just my guess!
Eventually, we added dry ice into the mixture (haha…) in hopes that the cold temperature could help us achieve the mousse texture. (Spoiler alert, it didn’t work.) But it was really fun because the mixture was bubbling and looked like it was boiling instead!
2. Making ribena sorbet
Expectation:
Sorbet is a type of frozen dessert that is typically made from sweetened fruit juice. I think sorbets are the perfect desserts especially in Singapore where it’s warm everyday. From what I understand, sorbets are quite easy to make and the ingredients (fruits!) are also readily available. Although I had expected for us to try making the creamier/richer types of ice cream (like haagen dazs haha), convenience wins!!

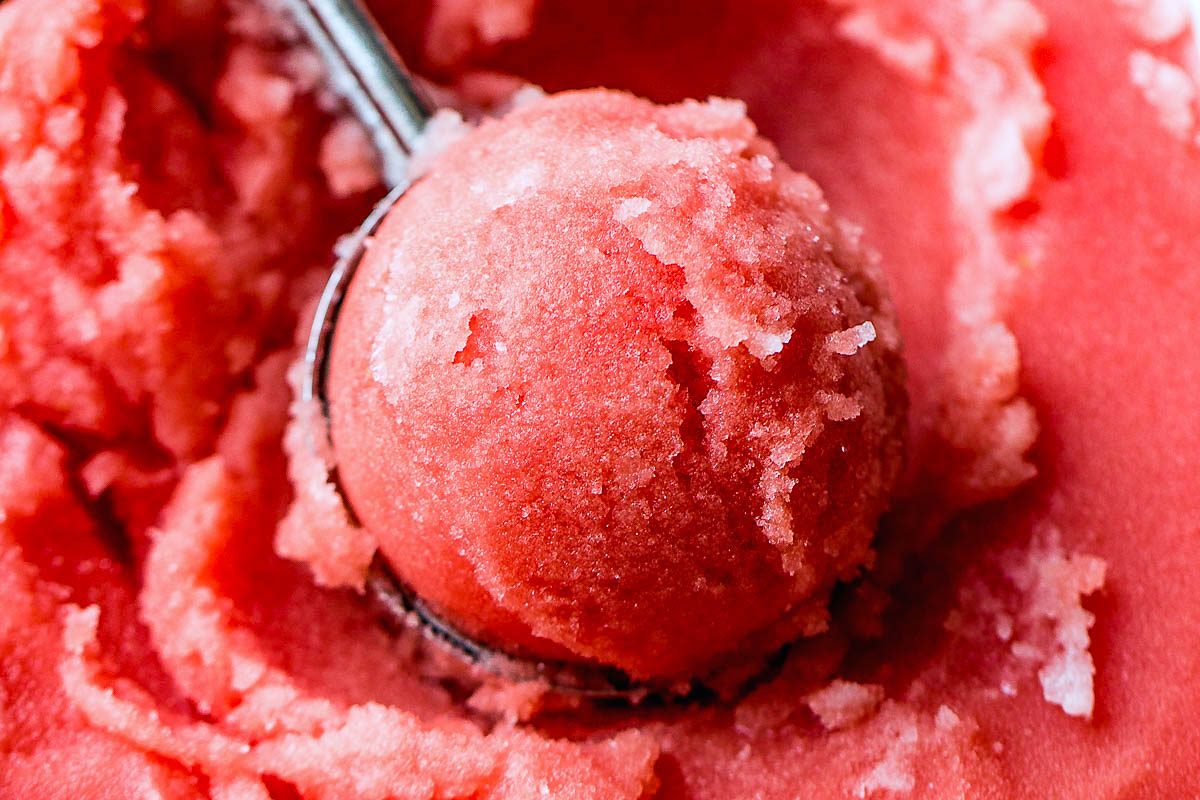
2-Ingredient Honey Watermelon Sorbet adapted from https://www.eatwell101.com/watermelon-sorbet-recipe
Doesn’t it look like the only thing you need on a hot and humid day? Also, look at how easy it is to make!
1. Blend watermelon cubes and honey in a food processor or blender until combined and smooth. Adjust sweetness to your liking with remaining honey.
2. Pour into a rectangular pan and smooth into an even layer. Freeze for 2 hours, or until frozen but still a little soft for scooping. Enjoy!
Yes, that’s all. 2 steps and done!
Reality:
During the workshop, we used ribena instead of fruit juice. I was really excited because ribena itself is already very refreshing, so I could only imagine how much more refreshing ribena sorbet would be! The process was simple as expected. However, instead of using a freezer, we used dry ice to cool the ribena down! The key to achieving the sorbet texture is to stir as fast as possible to agitate the mixture while it is cooling down. This is to ensure that the crystals that form are small. Well, we can imagine the opposite, if there was no stirring after the addition of dry ice, we would probably just end up with a huge block of frozen ribena.
Here’s a video of us making the sorbet! IMG_2254
I didn’t take a photo of the final sorbet but here’s a photo from Sirin!
The sorbet was really easy to make and super refreshing, just as I thought it would be!


Leave a Reply