If you are the type of student who keeps their room spick and span, diligently shelving books and sweeping any trace of dust off the surfaces regularly, this post is not for you (and that’s a compliment!).
But if you’re the type who naturally creates chaos just by hanging out in your own room, we wrote this post just for you. Read on and find out how you can embark on a mini Marie-Kondo operation in your room!
1.First things first, the bed.
Before:

After:

Ah, making your bed – the age-old struggle each of us face every morning upon waking. There are arguments out there that will say there is no point as you’re just going to sleep again at night, but trust us that the satisfaction of having a neat bed and crawling into one later that night, trumps the convenience of leaving your blanket, pillows or bolsters strewn all over the place. Plus it instantly makes your room appear neater. But don’t take it from us – hear it from an American Navy Seal.
2. Operation Clear the Wall.
Before:

Screengrab from a video (Lydia Gan)
After:
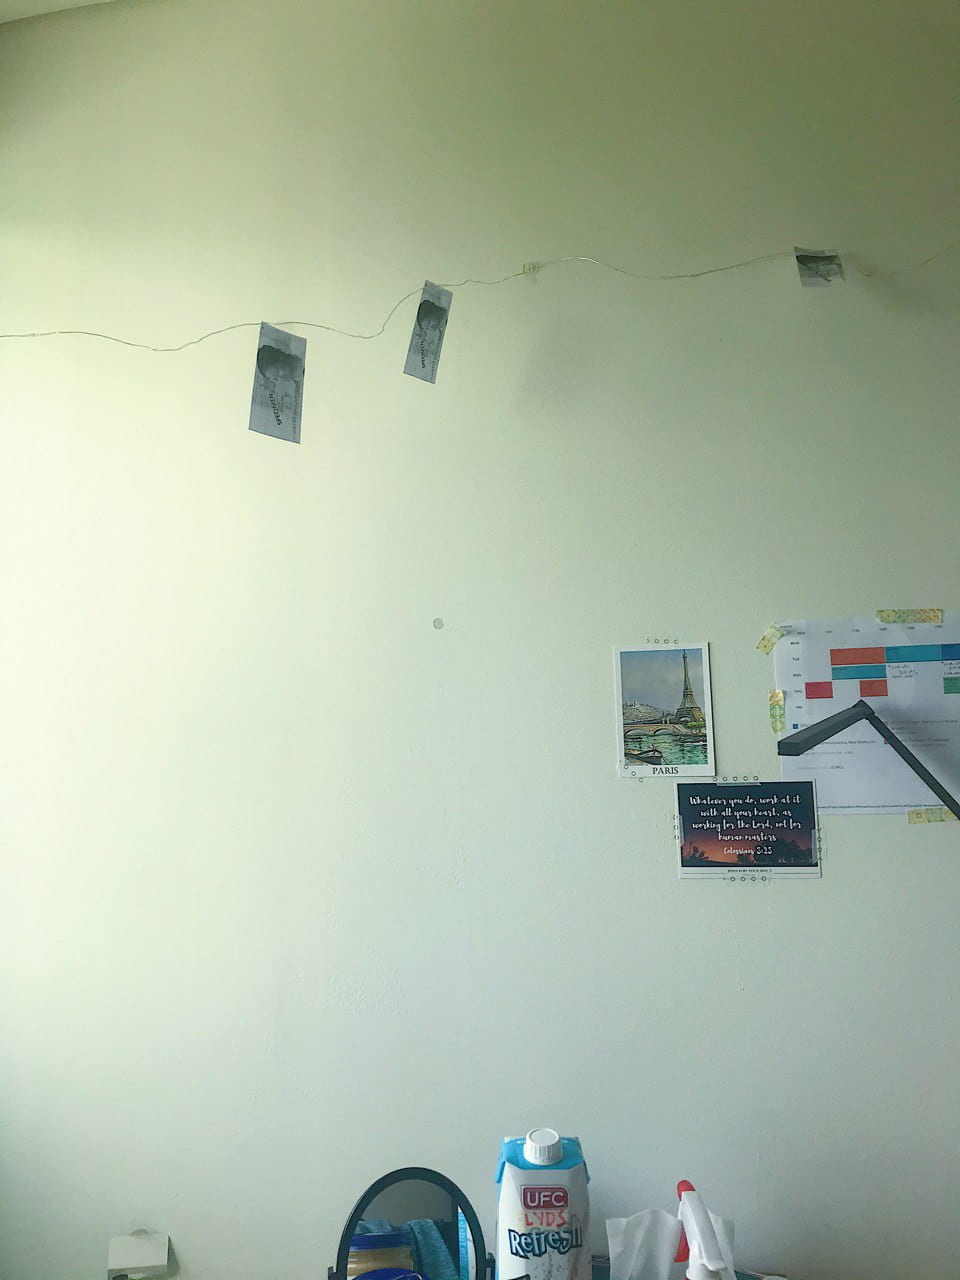
Don’t underestimate how much of a cluttered feeling your wall can add (or reduce) to your overall room vibe. With tons of stuff hanging off the wall, your room can feel overwhelmed and hard to stay in, not to mention distracting if you’re cramming. Leave a few mindfully chosen decorations up, like inspirational quotes or cards and pictures of friends, but choose wisely, and leave your walls clean and airy – so that your mind can follow suit.
3. Next up, worksheets / paper / desk.
Before:

After:
If you have gone all-tech and read / do work exclusively digitally, this will not be a problem for you. However, for those who are still inclined to print out the occasional assigned reading and tutorial, you might find that you suddenly have to sift through stacks of worksheets strewn around your room, to find problem set 4 that you need for class tomorrow morning at 8am. To mitigate this, just get one large file in which papers from all your modules can go into, ideally to be able to fit one semester’s worth of papers. You can also consider ring binders if you prefer clearer separation between modules.
4. Don’t forget the hidden mess.
Before:

After:

Drawers have always been a double-edged storage solution. It’s very tempting to just shove items inside and forget about them till one month later. Even though they’re somewhat hidden from view, they aren’t exactly ‘out of sight, out of mind’. Set a block of time to sort through your drawer items, and arrange them into visible, manageable, defined piles instead. This will help you take stock of all the hidden stuff you have, and avoid the drawers becoming just like a trash bin!
5. Sweep & mop till you’re spick & span.
Before:

After:

Now that most parts of the room have been dealt with, you can go about cleaning the floor. We recommend to save this for last, just because it feels right as a finishing touch. Of course, this is done to whatever level you prefer. You can use a good ol’ Magiclean mop, with both wet and dry wipes, easily purchased from any supermarket. It usually gets the job done for a convenient spruce up.
6. Relish the feeling of a bright, clean environment!
There’s nothing else to do now, but pat yourself on the back for a job well done in spring cleaning your room for the last lap towards the end of the semester. Good job, you!
All pictures: Lydia Gan