Module – important notes
The Module is where you will find most tools in LumiNUS.
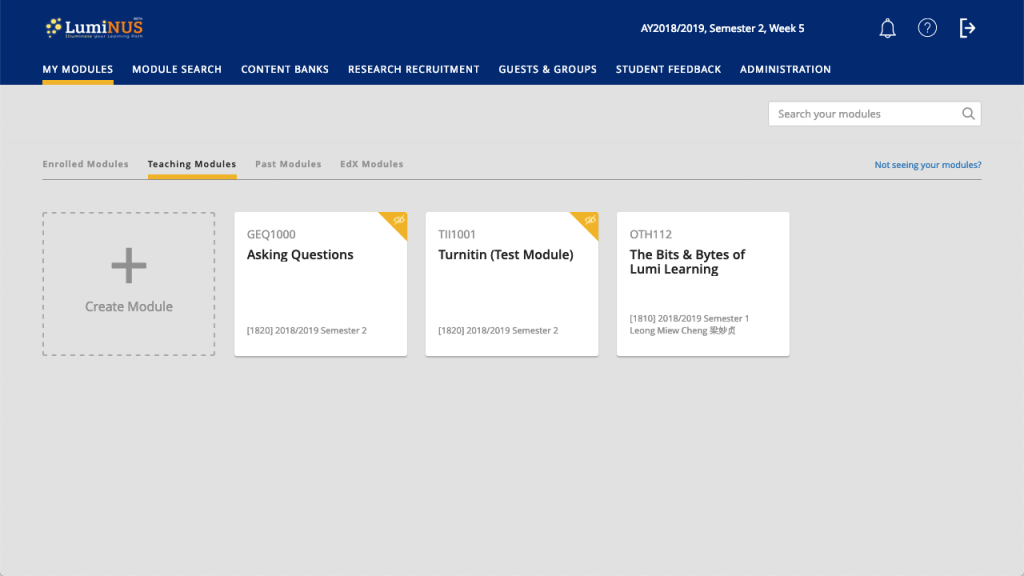
There is a big change in the way Modules work: you cannot change the Academic Career and Term once you have created the Module. There are a few reasons for this, but the main one is something we are working on for the future – learning analytics.
This has two implications:
- If you created the Module for the wrong semester, you cannot change the Academic Career and Term. You need to create a new Module with the correct term/semester and duplicate the tools into the new Module. You may also want to delete the Module with the wrong semester/dates to avoid confusion.
- You must create a new module for each semester. We are aware that some staff update the term/semester and the dates, re-using the same Module for the next semester. Now that this is not possible, you should create a new Module and duplicate the tools into the new Module.
Other than this, Modules can now be open to lifelong learners (L3 module) or be set as a non-academic module, open to any NUS students or staff to enrol.
Module Overview
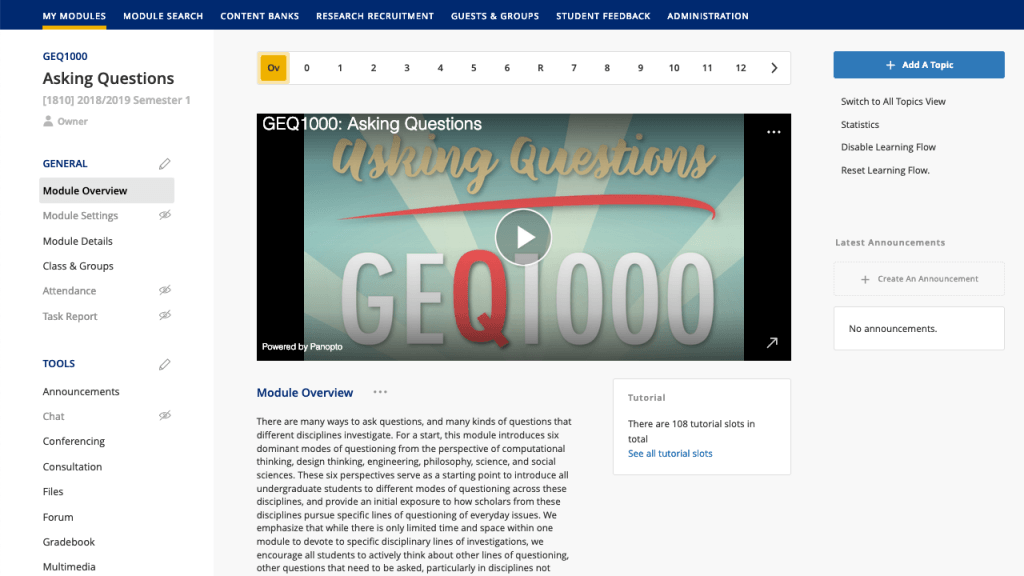
The Module Overview – the default landing page – offers space for a brief overview of the module. If you have a module trailer, it is shown here.
If you have enabled Learning Flow (and used the NUS Academic Calendar format), the default landing page for you and your students will be the current week of the semester. That is, you and your students will see the resources and activities that you have chosen for that week.
The detailed Module Description is now found under Module Details on the sidebar.
Module Details
You can find the Description, Facilitators, Readings, Weblinks , Timetable and Library Resources under Module Details on the sidebar.
The Description contains sections which can be rearranged and published/unpublished independently. Besides default sections populated from NUS Bulletin and EduRec, you can also create custom sections. The Description and other Module Details remain mostly unchanged.
Class & Groups

Class & Groups features two major changes.
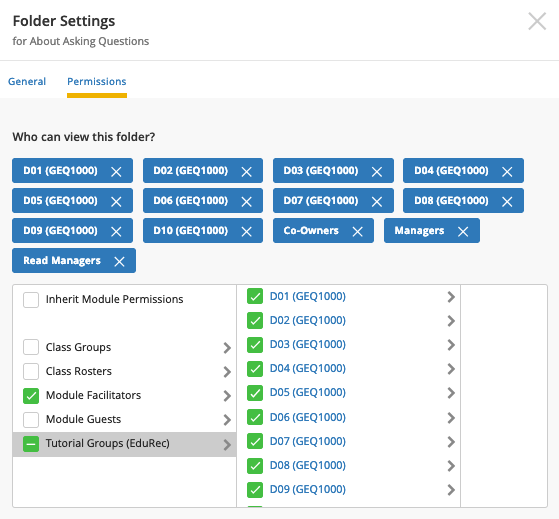
Assigning permissions to tools by Tutorial Groups used to be a multi-step, partly manual process.
You had to create Class Groups from Tutorial Groups. Then you had to email CIT to let us know that you wanted the groups to be synced. Otherwise, it would be a one-time export from Tutorial Groups to Class Groups.
Now, you simply assign permissions using the Tutorial Groups themselves.
No extra steps.
The other major change is that Class Groups can now have sub-groups. This will enable you to create different types of groups within the class for different purposes.
For example, you can have Project Groups parent folder with the sub-groups being the individual Project Groups. You can also have a Learning Journey Group with the sub-groups being the different learning journey times/dates.
With sub-groups, you can organise different types and sizes of groups easily.
Task Report

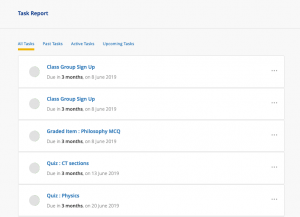
A new feature is the Task Report. This gives you an overview of all the deadlines for your module.
You can also send your students a reminder about these tasks via Task Report.
One last thing…

You can hide the tools on the sidebar. This may be useful if you don’t want to show students certain tools or if you have set up Learning Flow and want them to use it exclusively.


